Review: Simply Earth’s Melt and Pour Soap Line
Introducing Simply Earth’s new Melt and Pour Soap Line! In this Simply Earth Melt and Pour Soap Line Review, I’m going to talk about these fun new soap bases, molds, and fabulous homemade soap recipes you won’t want to miss.
Let’s make some soap together!
Have you always wanted to try making your own all-natural soap? Homemade soaps nourish your skin, smell amazing, and cost so much less than the store-bought variety.
The only thing is, there’s kind of a learning curve to making your own soap.
That’s where melt and pour soap comes in. With melt and pour soap, you just melt it, mix your colorants and favorite fragrances, and pour it in the mold. The process is so simple, and the end product is stunning!
Simply Earth Essential Oils recently launched their very own Melt and Pour Soap line. I am beyond excited to share this line with you because, 1., I love Simply Earth. They are my favorite essential oil company! And 2., this soap line is ridiculously user-friendly.
In this post, we’re going to chat about what’s included in the Simply Earth Melt and Pour soap line, and we’ll make some recipes of our own! Are you ready to make some beautiful soaps together?
RELATED POSTS TO SIMPLY EARTH’S MELT AND POUR SOAP LINE REVEAL:
Introducing Simply Earth’s Melt and Pour Soap Line
First of all, hello and welcome to Blunders in Babyland.
I’m Erin, Mom of 2, baby blogger, and essential oil mama. Writing about my love for essential oils (particularly Simply Earth) is kind of a side-obsession of mine.
A couple months ago, Simply Earth included a melt and pour soap base in their monthly recipe box. I tried it out (because I’ve always wanted to make soap) and had a blast.
So, when Simply Earth asked me to be a part of their Melt and Pour Soap line launch team a few weeks later, I couldn’t say “yes!” fast enough.
What is Melt and Pour Soap?
Melt and pour soap is a ready-to-use soap base usually made up of four primary ingredients: plant oil, glycerin, water, and lye (aka sodium hydroxide). Traditionally, you would mix these ingredients yourself, using cold compress. This can be a tedious (and intimidating) process. Safety gear is required and you kind of feel like a chemist while you’re doing it.
With melt and pour soap, you just heat it up and add your fragrances, additional oils, and colorants, and pour it in the mold.
Simply Earth’s Soap Bases
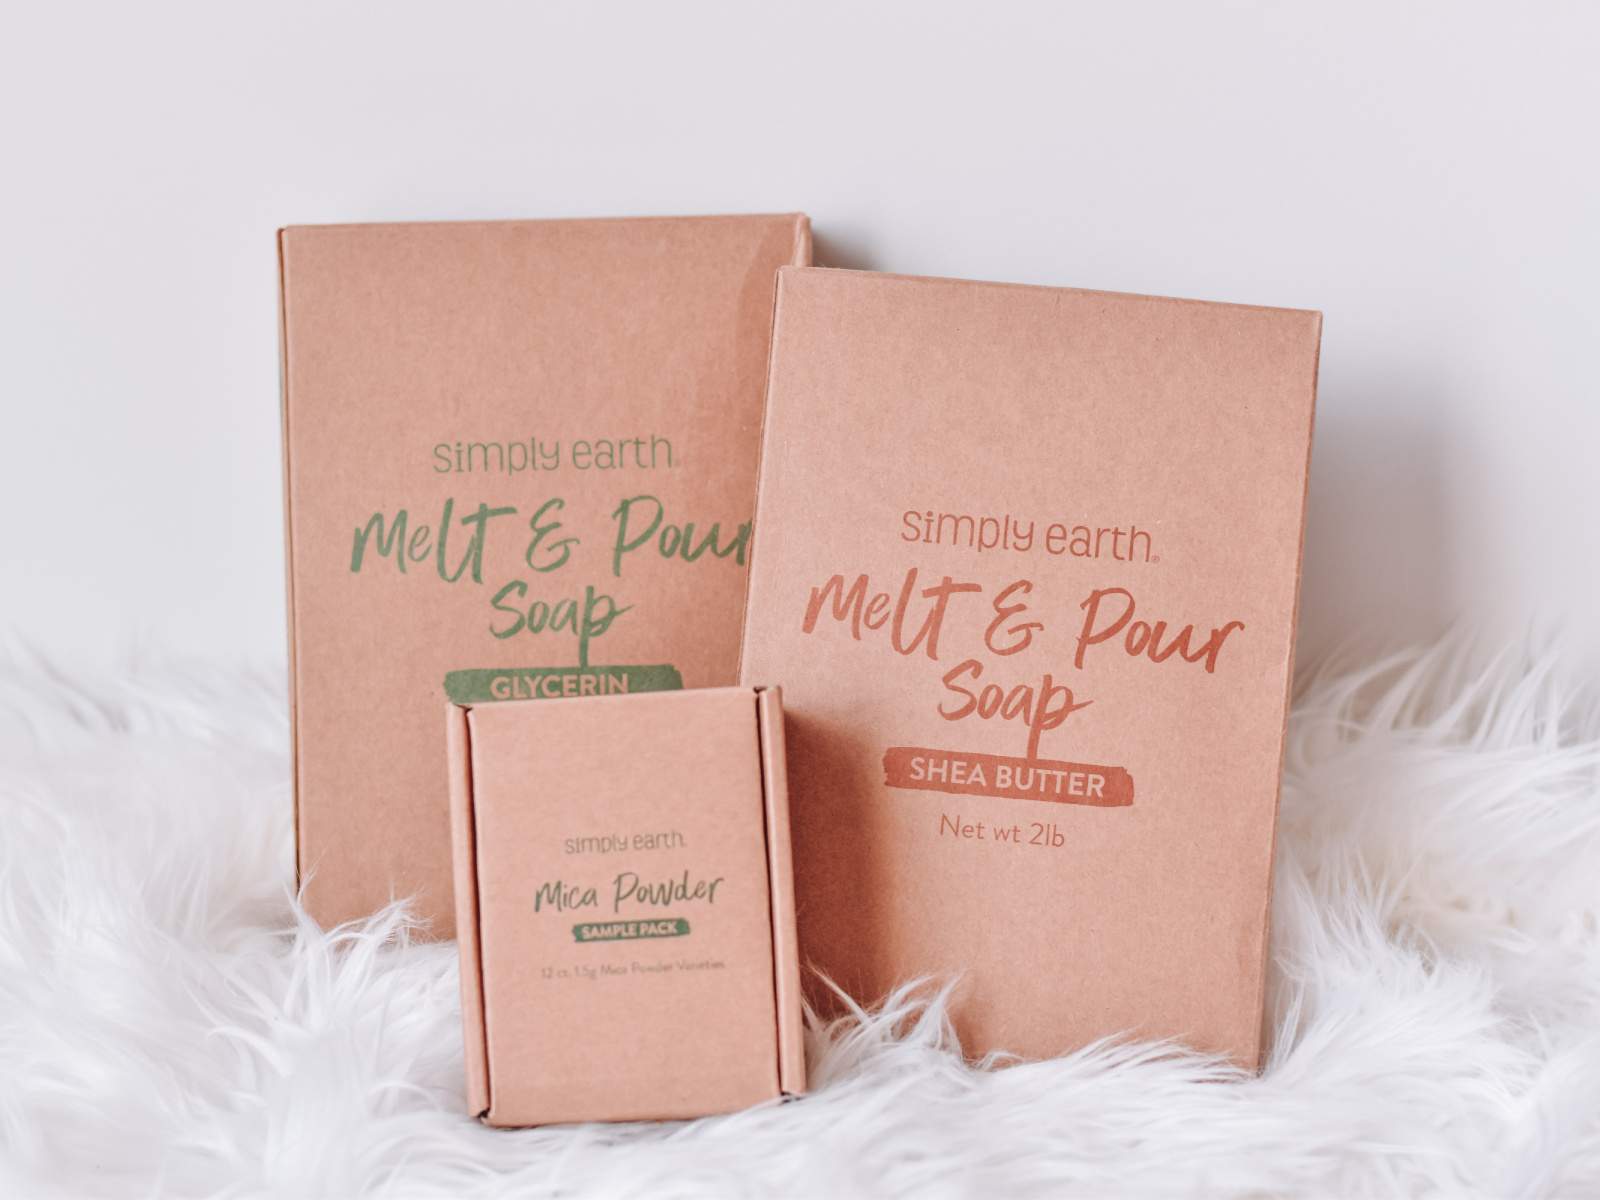
Simply Earth sent me two of their soap bases to try out. Glycerin soap base and shea butter soap base.
Glycerin Soap Base
This soap base makes a beautiful, clear soap without any colorants. It’s perfect for adding lavender buds or crushed flower petals. If you do add colorants, the colors will be that much brighter with this base.
Glycerin soap is a great hypoallergenic product (without colorants and fragrances) that can be gentle on people with sensitive skin. I’ve used my glycerin soap for a couple weeks now and I haven’t had a single skin reaction.
Shea Butter Base
Shea butter is fantastic for hydrating your skin. It is milky white, so expect your end result with colorants to display pastel colors or look slightly muted.
The soap I made is a combination of shea butter and glycerin. When I wash with the shea butter side, the soap doesn’t lather quite as much as the glycerin. Rather, it has a soft, creamy feel that is very soothing!
Simply Earth’s Molds
What is equally as important to making homemade soap as the base? The mold! Finding a good mold is critical to producing beautifully formed soaps. Your mold should be flexible but rigid enough to give your soaps their desired shape.
You can purchase acrylic, wooden, and even PVC soap molds, but silicone is definitely the most popular. Simply Earth chose to offer a silicone mold for their melt and pour soap line. Even better, they offer two types: a 4” loaf mold and a six cavity rectangular.
4” Loaf Mold
Loaf molds are perfect for creating stunning, continuous designs. They also allow you to create a more rustic edge. Or, if you plan on mass-producing soaps, loaf molds can be very handy.
6 Cavity Rectangular Mold
The rectangular mold is my favorite mold, however, and probably my recommendation for beginners. Simply pour your base until it almost reaches the top of the cavity. No cutting!
What Can I Add to Melt and Pour Soap Bases?
You could just use the soap base to wash yourself…but that’s boring. Traditionally, soap bases contain 3% fragrance and 1-3% additional ingredients, like colorants.
Fragrances
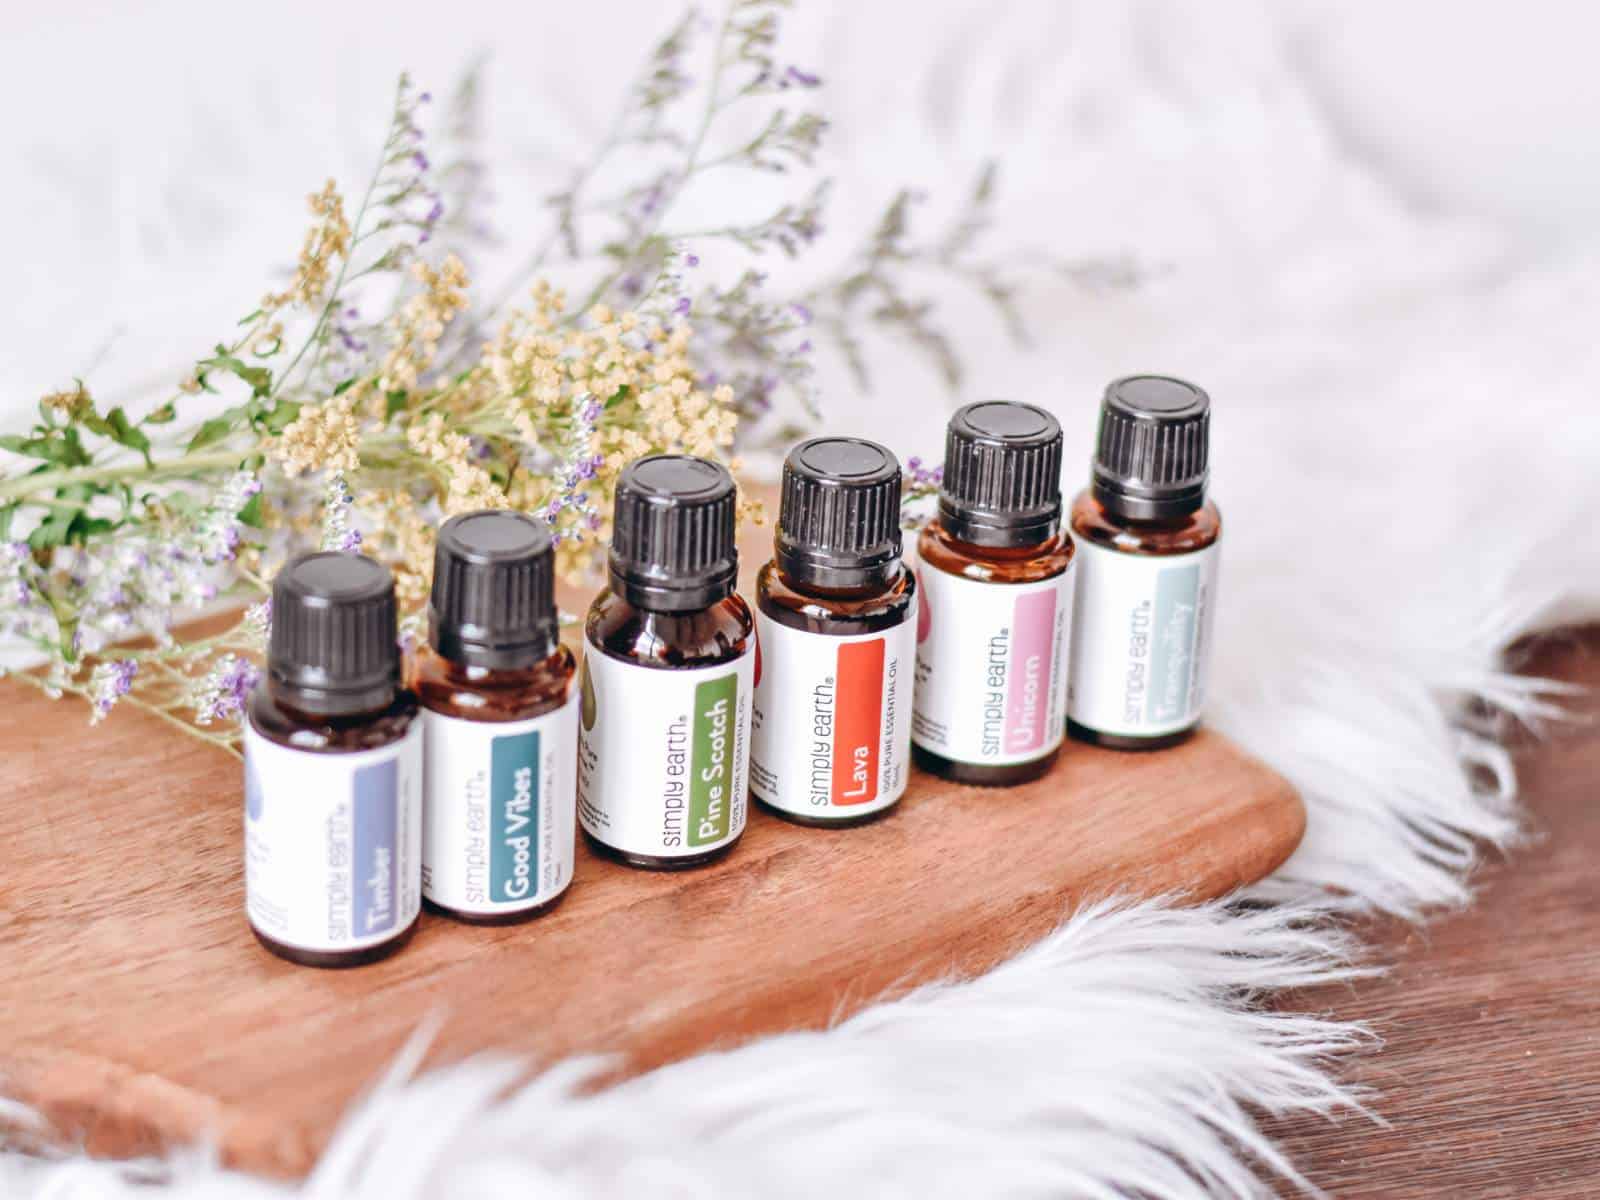
Essential oils make wonderful toxin-free fragrances that come with helpful benefits. For example, you can add lavender to soothe skin irritation or help you start your day with a peaceful mood.
The Simply Earth essential oils I added to my soap bases smell divine.
The blends I used were:
- Unicorn (Grapefruit (Pink), Orange (Sweet), Lemon, & Jasmine Essential Oils)
- Lava (Grapefruit, Blood Orange, Ho Wood, & Sandalwood Essential Oils)
Colorants
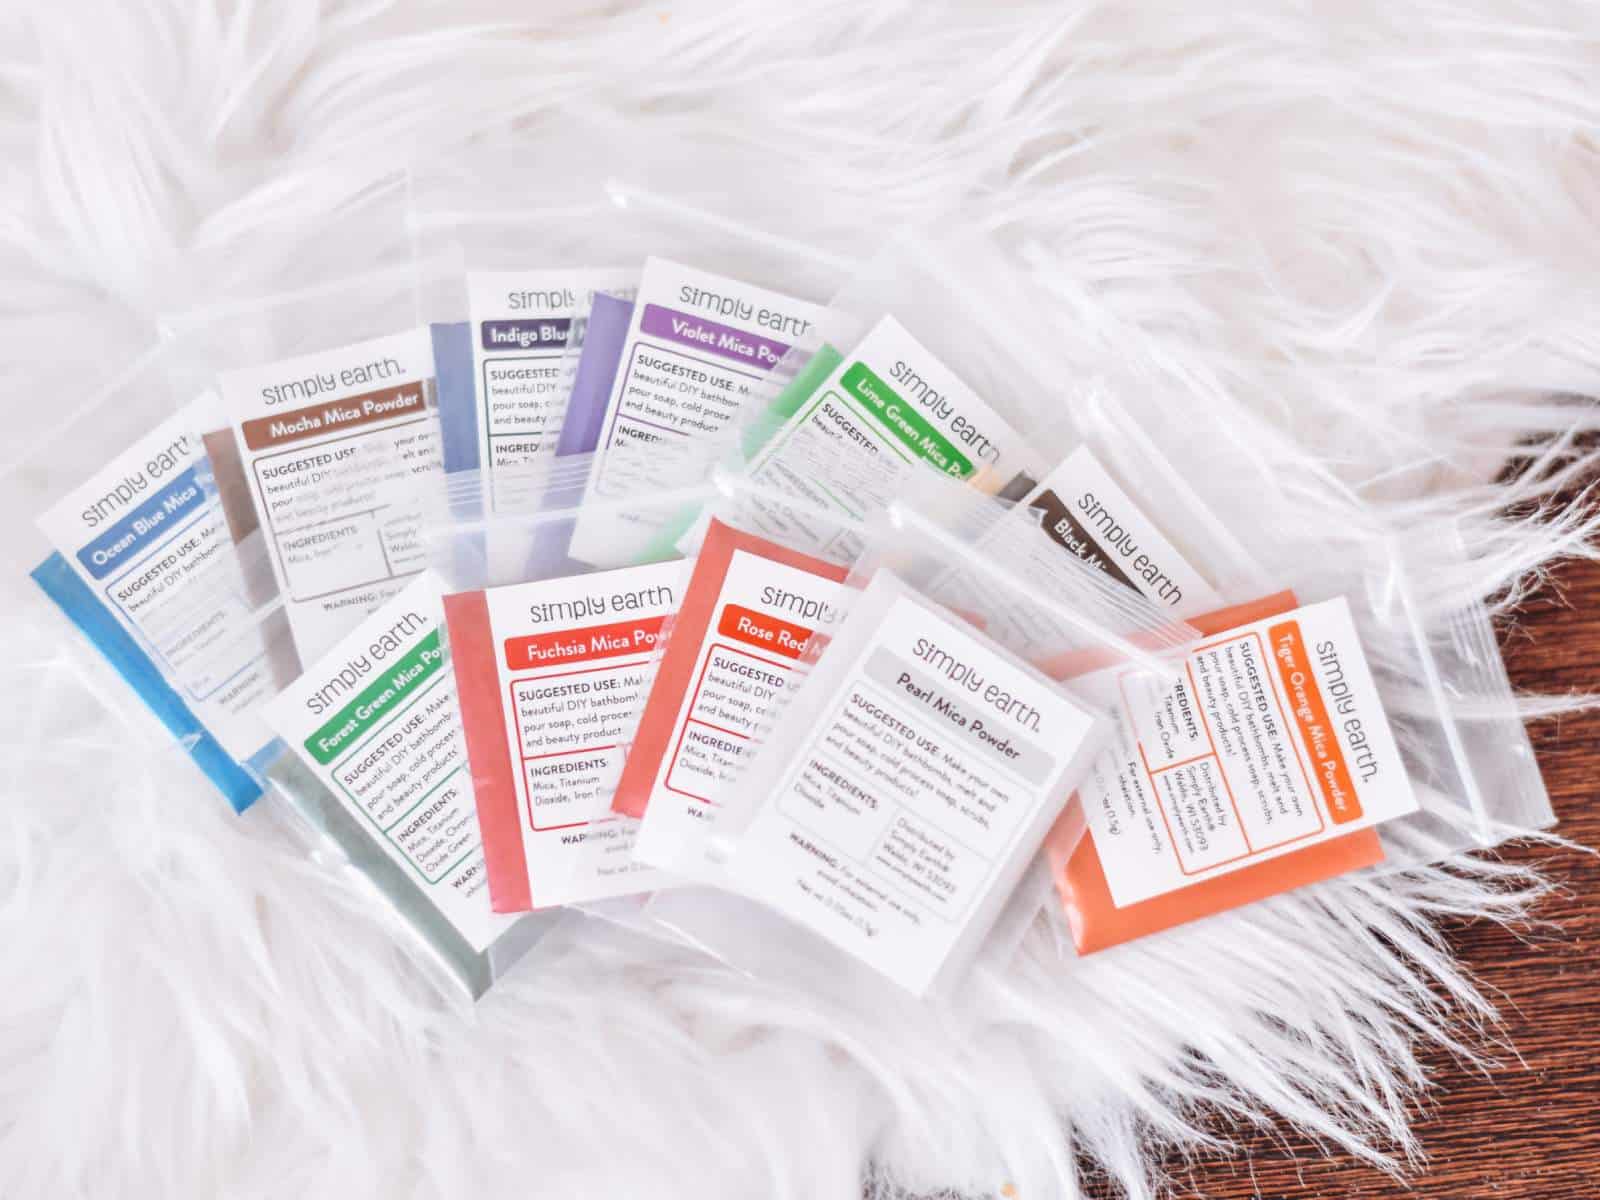
Spices, flower petals, clays, and mica powder are all popular colorants for homemade natural soap.
I think adding colorants is the best part of the whole process. Simply Earth sent me this stunning array of mica powder! I love that you don’t have to use much of this to achieve a bold effect. I added just a pinch and it turned out great!
Alcohol
Technically you don’t have to add alcohol to your soap, but you actually kind of do. 90% isopropyl alcohol removes air bubbles from the surface of your soap and helps the different layers bond. It can also help the mica powder mix into the melted base.
A little goes a long way though; all you need is a spritz from a small spray bottle.
Simply Earth Melt and Pour Soap Recipe Tutorials
Are you ready to make some soap with me? I am so impressed with how these turned out, and I have to give it all to Simply Earth. Their instructions were very easy to follow. The supplies were a dream to work with.
The only thing I deviated from was this: I used a melting pot to heat the oils. Yes, like a fondue melting pot. This is not a requirement. Simply Earth actually recommends using either a double-boiler or microwaving the soaps in 10 second increments.
However, if you happen to have a fondue melting pot, I would highly recommend using it. It made the melting process so easy!!
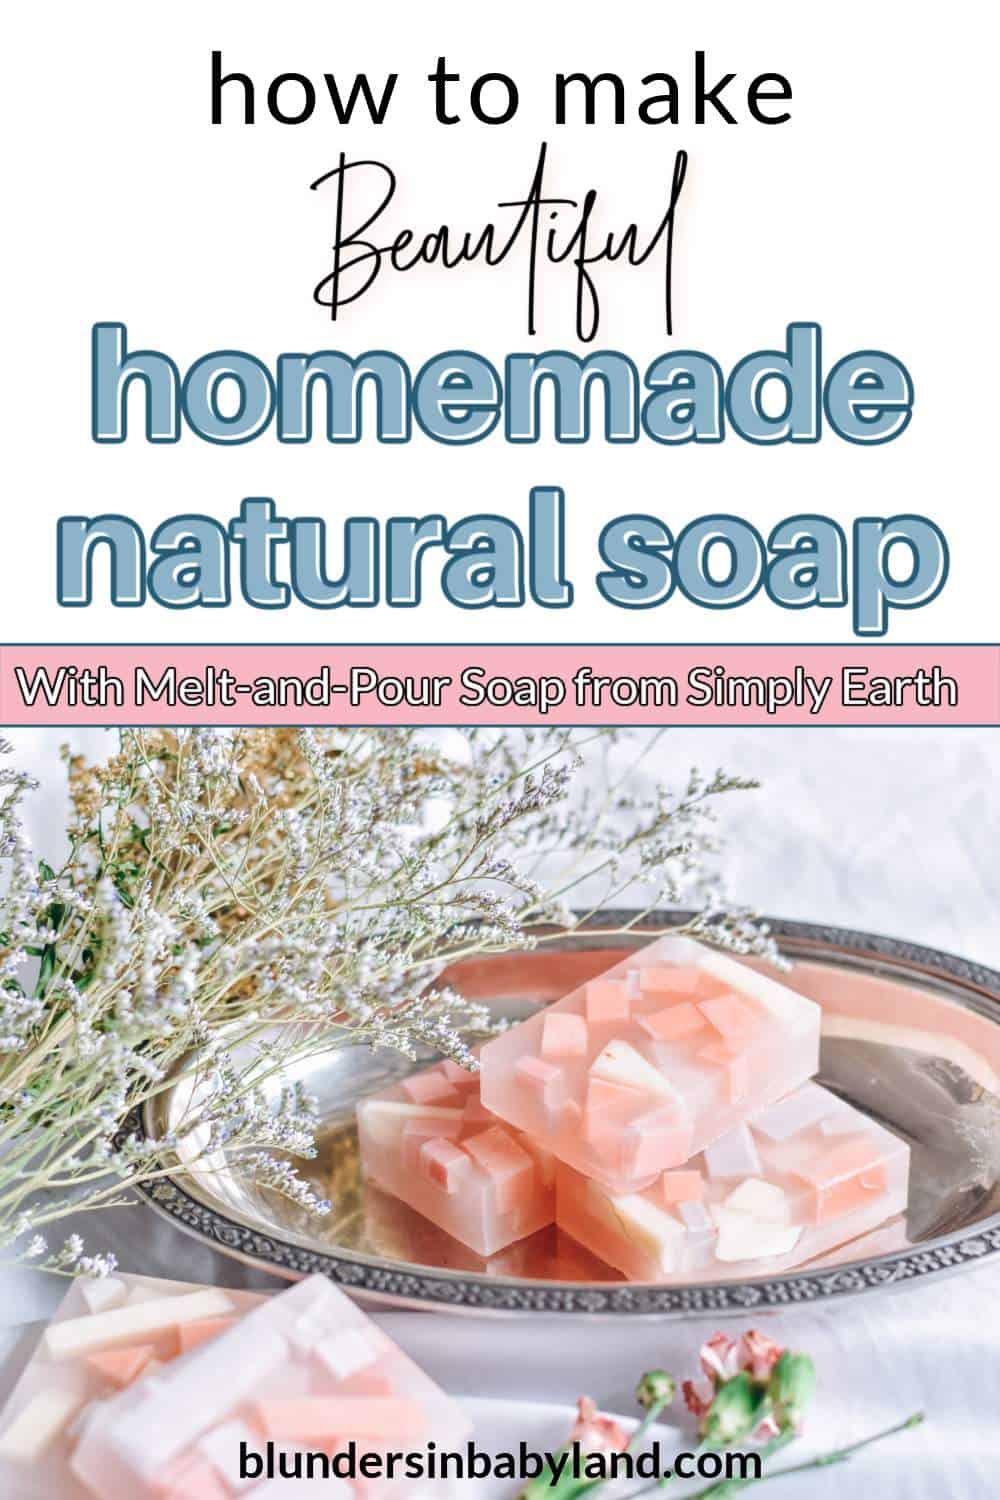
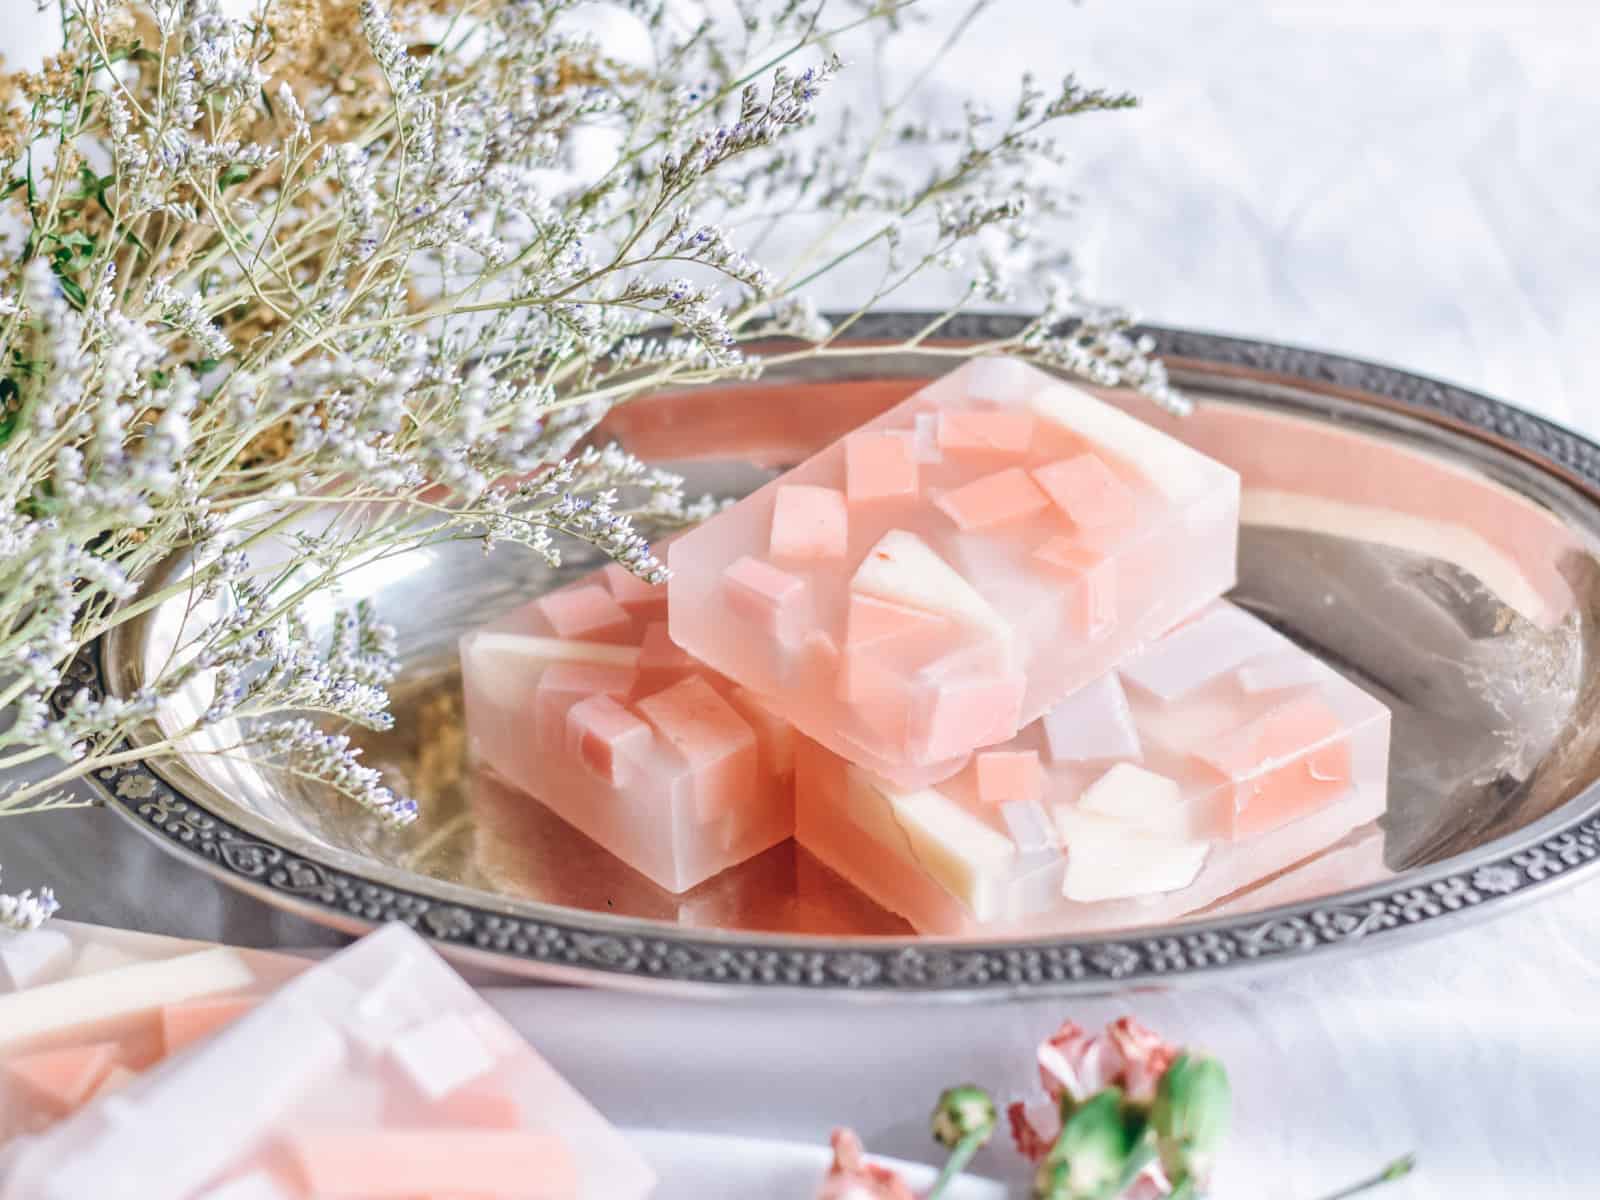
Unicorn Confetti
Ingredients:
- 2lb Glycerin Melt and Pour Soap
- 2lb Shea Butter Melt and Pour Soap
- 6 Cavity Soap Mold
- Mica Powder (Fuchsia, Yellow Gold, Indigo Blue, and Tiger Orange)
- Unicorn Essential Oil Blend
- Isopropyl Alcohol
I am the mom of two adorable, unicorn-loving girls, so choosing this recipe was a no-brainer for me! It was so fun to make, it looks A-mazing, and it smells so nice. And, I’d like to think the easy bedtime after the girls’ bath is directly related to the sleep-inducing oils I infused into the bar 😉
Technically, this recipe makes six soaps. I filled the cavities up to the brim, so I got more like 5.5.
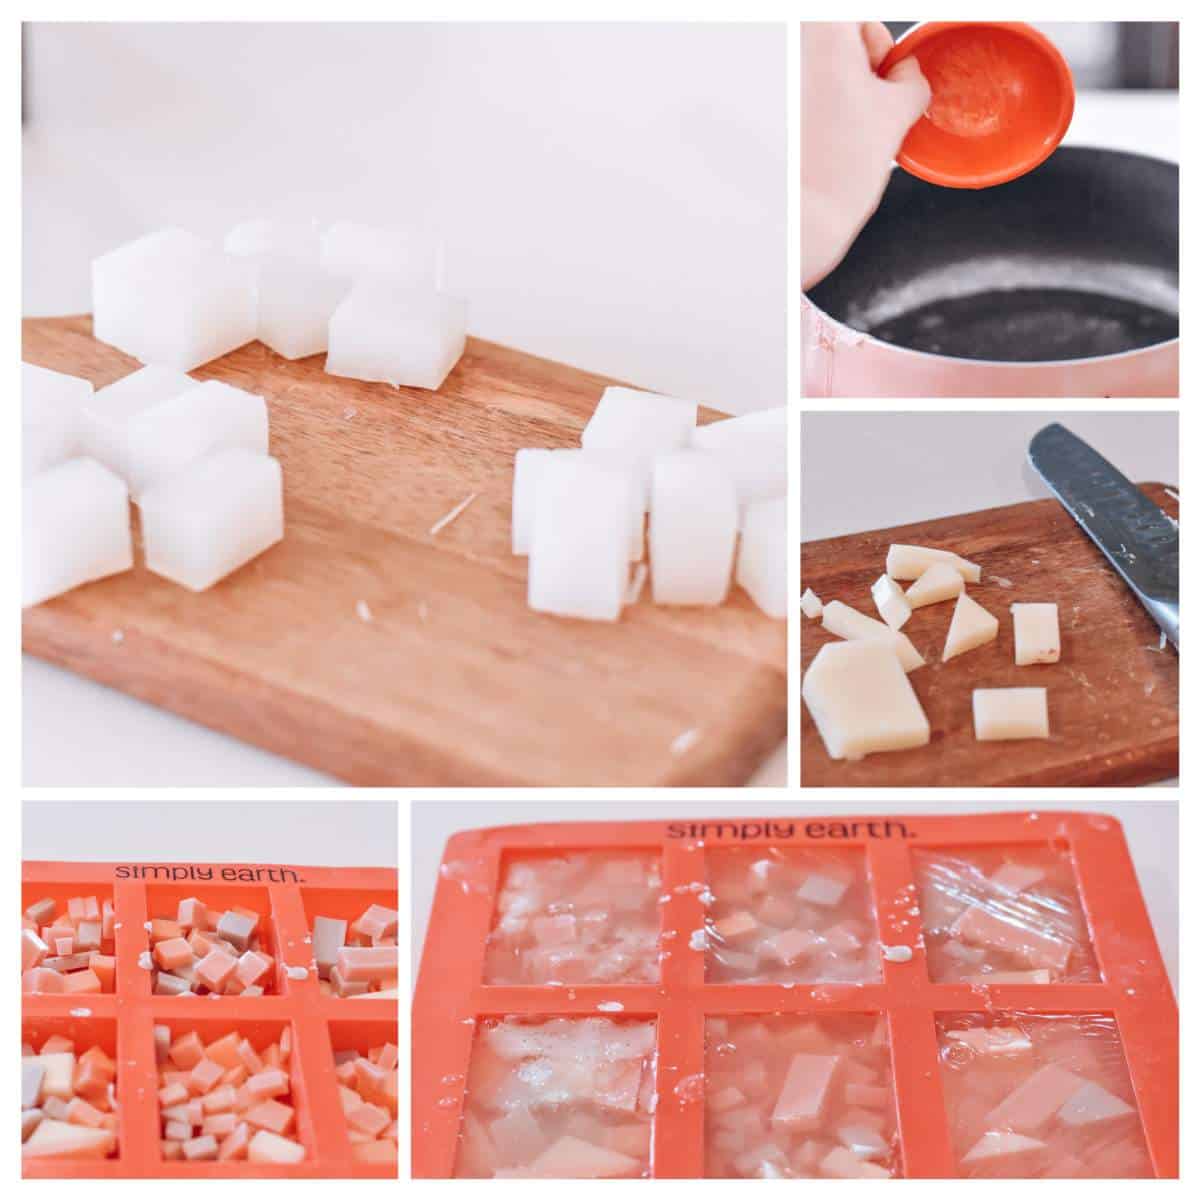
- Cut the shea butter base in half. Take one half and cut into 3 equal parts. You will use two of these pieces in the recipe and store the last piece.
- Cut your shea butter into 1 inch pieces. This is essential for melting the soaps quickly and evenly. Divide the pieces into 4 equal piles.
- Melt the first pile. Do not allow the soap to overheat. Bubbles are a sign of overheating.
- Add 10 drops of unicorn blend essential oil. Mix in a pinch of yellow mica powder into the soap (note: I actually mixed the unicorn blend and the mica powder in a small bowl beforehand. I also added a drop or two of isopropyl alcohol).
- Pour the soap into one cavity (I think it filled it up only about half way). Spritz the top with your alcohol.
- Now we’re going to repeat steps 3-5 for the remaining three piles. Use a different mica powder for each portion. You should end up with four half-full cavities.
- Let the soap set.
- Cut the 2lb glycerin soap into halves. Cut one half into 1 inch blocks. Store the other half.
- Have the colored bars set yet? Good! Remove them from the mold. We’re going to cut these pieces into smaller confetti-like shapes. Because my youngest is learning shapes and my oldest loves naming shapes, I cut many of them into triangles, squares, and rectangles.
- Fill the cavities with your fun little pieces. Spritz the tops with alcohol.
- Melt the glycerin base. It should be clear!
- Fill the molds with the melted glycerin base.
- Let the soap set. Mine took about 45 minutes. Gently remove the soaps from the mold. Viola! Don’t they look adorable?
Lava Ombre Soap
Ingredients:
- 6 Cavity Soap Mold
- 2lb Glycerin Soap Base
- 2lb Shea Butter Soap Base
- Fuchsia Mica Powder (full disclosure, I substituted the fuchsia mica powder for the red)
- Tiger Orange Mica Powder
- Yellow Gold Mica Powder
- Lava Essential Oil Blend
- Isopropyl Alcohol
- 2 Small Books (yes, really!)
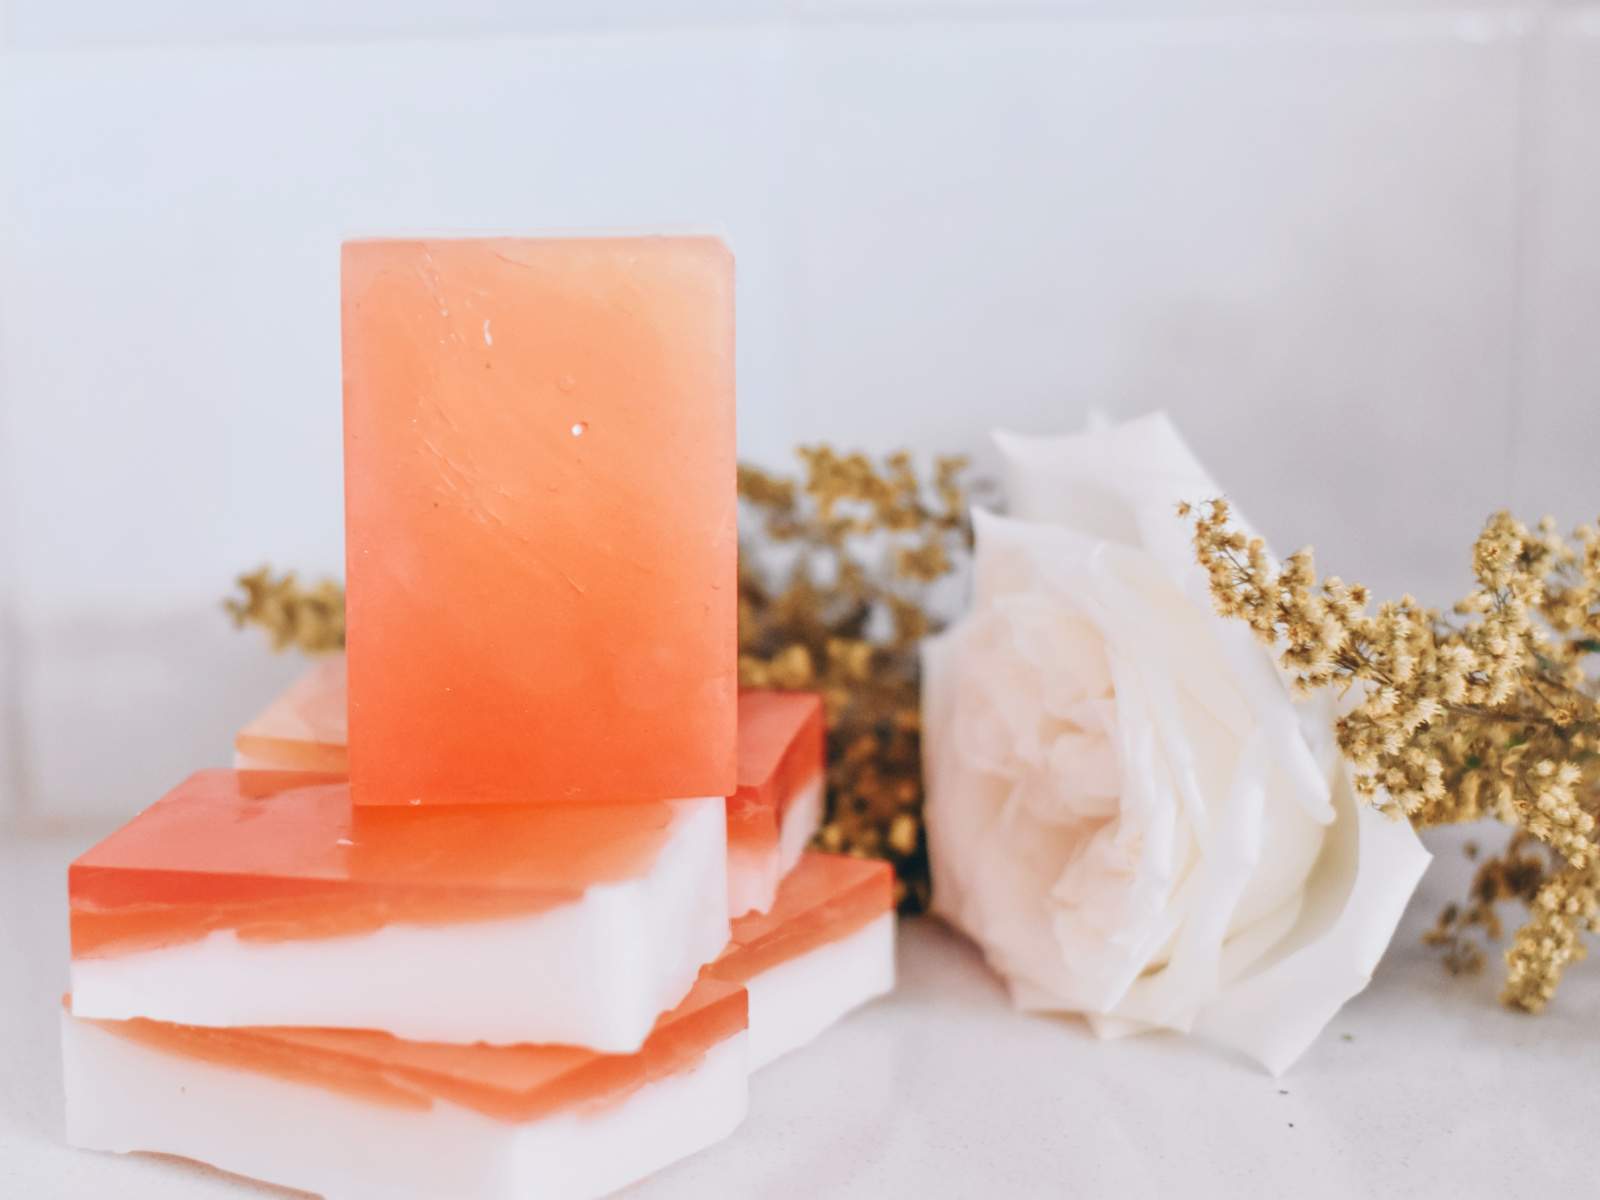
This is probably my favorite soap recipe ever! It looks so beautiful and I had a blast making it. I think you will too!
Before we begin, let me address the books. I highly recommend using smaller books to create the angle in your mold (this will make the cool ombre effect you see above). The books in the picture below are about the height of two fingers, and I think that’s just about right.
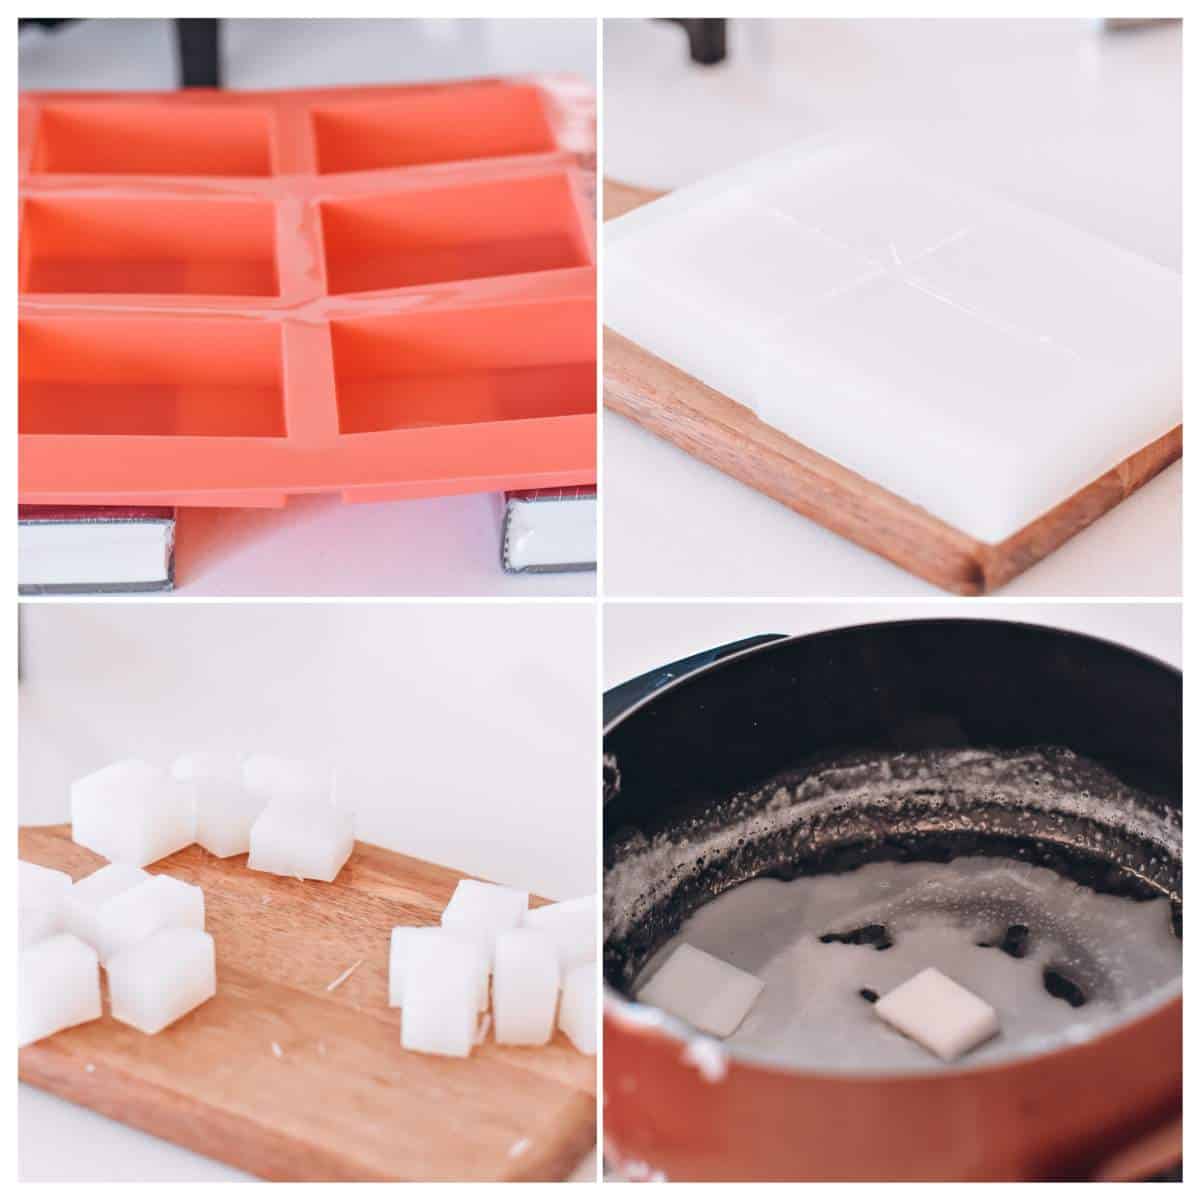
- First, we are going to place the mold on top of the two books. You want it to create a slight V-shape (this will create the ombre effect!)
- You’re going to need a ¼ of our 2lb glycerin soap base block for this recipe. You can store the rest. Cut the ¼ into 1” blocks.
- Divide the 1” blocks into three portions.
- Melt one portion.
- Stir in a dash of fuchsia mica powder and 10 drops of Lava Essential Oils (once again, I mixed these ingredients with a drop or two of isopropyl alcohol in a small bowl before mixing into the base.)
- Pour a small amount of the soap into the mold. Allow it to set (it took me about 5 minutes.)
- Melt another portion. Mix in a dash of tiger orange mica powder and 10 drops of Lava Essential Oil.
- Spritz the pink layer (or red) with isopropyl alcohol. Pour the orange soap over the pink layer. Once the layer sets, remove the books from under the mold.
- Take the last glycerin soap and melt it. Add a dash of yellow mica powder and 10 drops of Lava Essential Oil.
- Spritz the orange layer and pour the yellow mica powder in the mold. Let it set.
- Cut the shea butter base in half. Store the rest.
- Cut the soap into 1” cubes and melt. Add 10 drops of the Lava Essential Oil.
- Spritz the yellow layer with isopropyl and pour the shea butter base over it. If you can, fill each cavity with shea butter. Finish it off with another spritz of isopropyl alcohol. Viola!
How to Get Your Own Melt and Pour Soap
I am so grateful Simply Earth made this new product line. They make soap creation so easy and fun. I hope you give it a try.
You can find Simply Earth’s new Melt and Pour Soap products at their website. I’ll post links for each one of the products below.
If you decide to try them out or if you have any questions, let me know in the comments!
- Glycerin Melt and Pour Soap Base
- Shea Butter Melt and Pour Soap Base
- Mica Powder
- 4” Loaf Mold
- Six-Cavity Rectangular Mold
- Unicorn Essential Oil


